


While some may say push notifications are dying, they actually became one of the most popular marketing and communication channel during COVID-19. Why?
Well, there are 5 main reasons for that:
- They are pretty cheap;
- Easy to set up;
- Cross-platform;
- Allow detailed profiling;
- Help create custom segments.
In 2020 customer engagement and retention has become more important than ever before. In Pushwoosh we've received more requests for iOS and Android integrations than ever before.
The most time-consuming part of all this is integration, which doesn't really take that long. In this blog post I'll share how the whole process works, so in case you need push or in-app for your mobile app, you know what to do and how to do it.
Yes, each push provider may have its own peculiarities in settings, but in general all the processes are pretty similar.
Ready? Let's go
How everything works
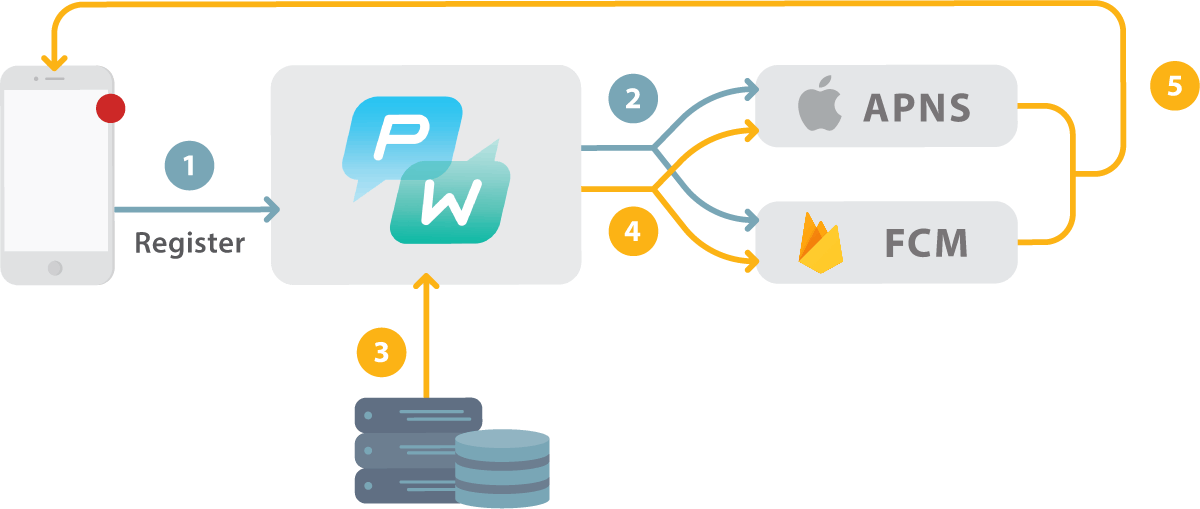
To make it work you need to take 4 main steps:
- Set up Pushwoosh SDK (Android/ iOS);
- Get users permission to send them push notifications;
- Pushwoosh will register the devices in the Apple Push Notification Service and in Firebase Cloud Messaging so they get a special push token;
- Create segments and schedule/send the messages for your target audience.
Sounds easy, doesn't it? The hardest part for users is typically setting up push provider SDK. Let's see how it works with an example of Pushwoosh implementation into you native iOS app.
First, set up your Push Provider SDK
Add Pushwoosh framework to your project
Do it via a dependency manager by putting the code into your podfile or cartfile.
podfile:

cartfile:

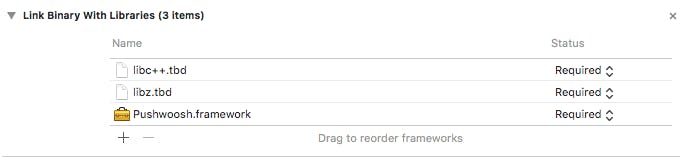
Besides, you can simply drag&drop the framework right into Link Binaries With Libraries in the Build Phases of your project.
Add libraries
Click on Add items ("+" button) in your Link Binaries With Libraries. Search for and add libz.tbd and libc++.tbd libraries:
Link the app with your push provider control center
In Pushwoosh case you simply need to add a string type key Pushwoosh_APPID with your Pushwoosh Application Code as value.
Enable Push Notifications by toggling Push Notifications on
That's it!
Second, iOS Platform Configuration
There's always an easy way to do something. To save your time on iOS Platform Configuration Pushwoosh created an an autoconfiguration mode.
Make sure you’ve create a Distribution Provisioning Profile for your app to submit it to the App Store. Learn more about provisioning profiles here .
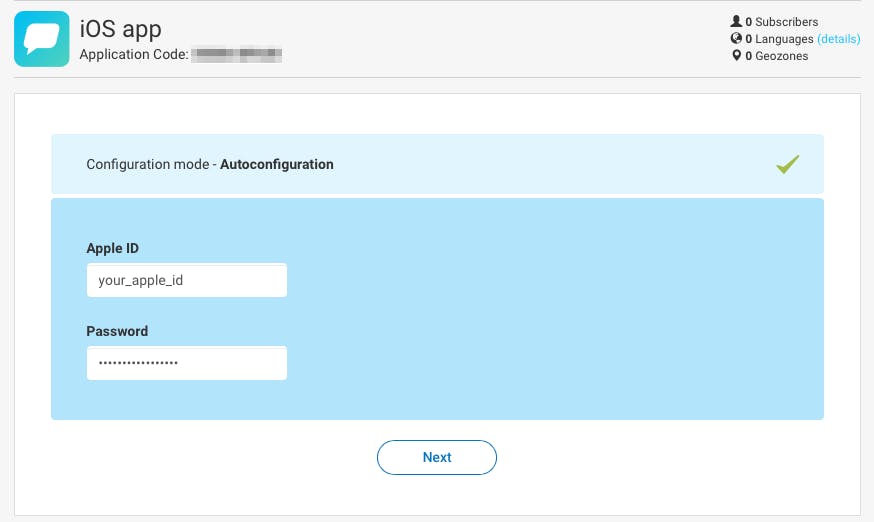
All you have to do is just choose Autoconfiguration mode for your App.
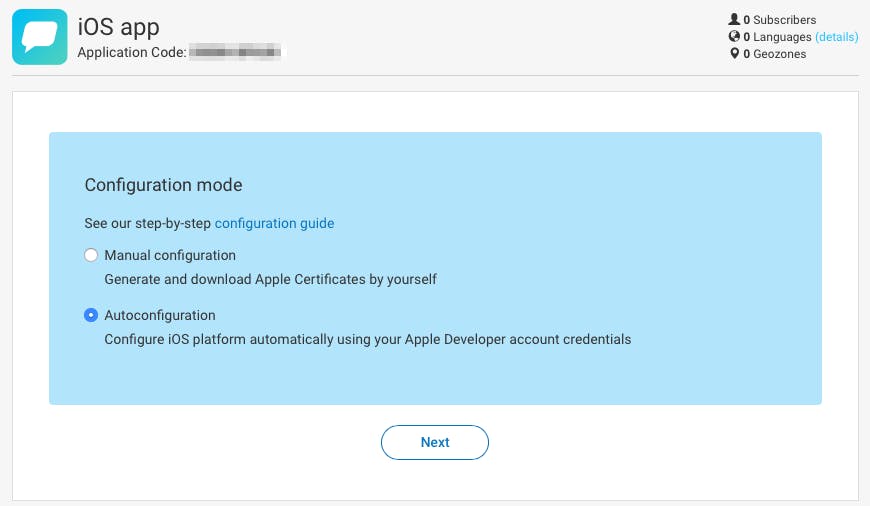
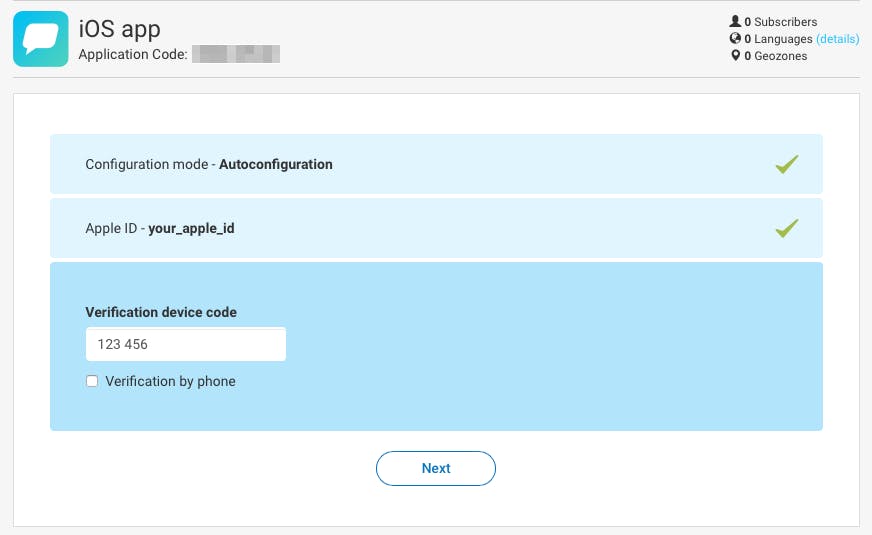
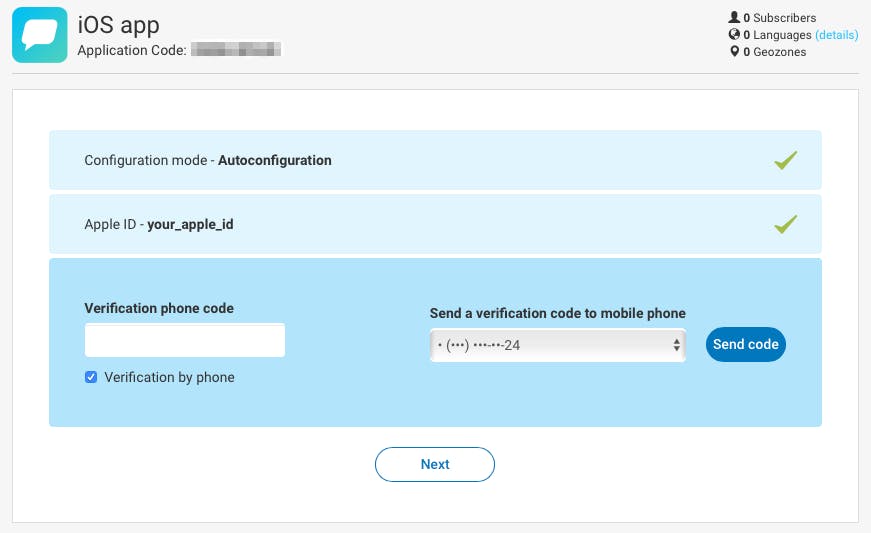
This is all you have to do:

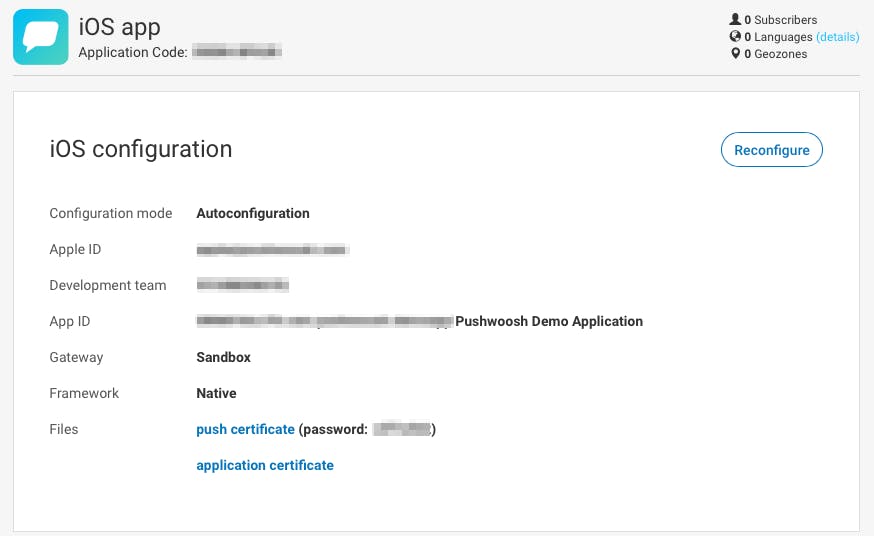
📍 Any existing APNs certificates for your Apple App ID will be revoked during Auto Configuration. And yes, if anything, you can reconfigure the iOS platform at any time.
All set!